Installing SolrCloud for Sitecore 9 Part 2
This article continues the installation of SolrCloud that was started in part 1
Install Solr
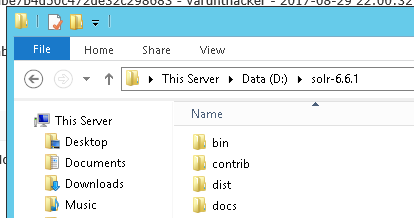
Download Solr version 6.6.1 here. Unzip it and copy the contents to d:\solr-6.6.1
Configure SSL
Next up we need to configure Solr to use SSL. An easy way to do this is to use @kamsar's script from his blog. We will make some minor changes to use a specific DNS name in addition to localhost.
These steps will be different for production environments as you shouldn't be using a self signed key. Get in touch with whomever manages the certificate authority for your organization.
Create the SSL directory in d:\solr-6.6.1.
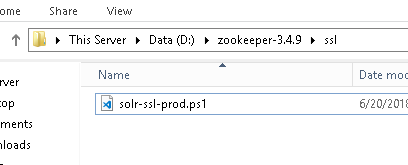
Next create the solr-ssl.ps1 script. This is slightly modified from @kamsar's version. We're changing the keytool command to use our actual dns in addition to localhost.
param(
	[string]$KeystoreFile = 'solr-ssl.keystore.jks',
	[string]$KeystorePassword = 'secret',
	[string]$SolrDomain = 'localhost',
	[switch]$Clobber
)

$ErrorActionPreference = 'Stop'

### PARAM VALIDATION
if($KeystorePassword -ne 'secret') {
	Write-Error 'The keystore password must be "secret", because Solr apparently ignores the parameter'
}

if((Test-Path $KeystoreFile)) {
	if($Clobber) {
		Write-Host "Removing $KeystoreFile..."
		Remove-Item $KeystoreFile
	} else {
		$KeystorePath = Resolve-Path $KeystoreFile
		Write-Error "Keystore file $KeystorePath already existed. To regenerate it, pass -Clobber."
	}
}

$P12Path = [IO.Path]::ChangeExtension($KeystoreFile, 'p12')
if((Test-Path $P12Path)) {
	if($Clobber) {
		Write-Host "Removing $P12Path..."
		Remove-Item $P12Path
	} else {
		$P12Path = Resolve-Path $P12Path
		Write-Error "Keystore file $P12Path already existed. To regenerate it, pass -Clobber."
	}
}

try {
	$keytool = (Get-Command 'keytool.exe').Source
} catch {
	$keytool = Read-Host "keytool.exe not on path. Enter path to keytool (found in JRE bin folder)"

	if([string]::IsNullOrEmpty($keytool) -or -not (Test-Path $keytool)) {
		Write-Error "Keytool path was invalid."
	}
}

Write-Host ''
Write-Host 'Generating JKS keystore...'
& $keytool -genkeypair -alias solr-ssl -keyalg RSA -keysize 2048 -keypass $KeystorePassword -storepass $KeystorePassword -validity 9999 -keystore $KeystoreFile -ext SAN=DNS:$SolrDomain,DNS:SOLRNODE1.COMPANY.COM,IP:127.0.0.1 -dname "CN=SOLRNODE1, OU=Organizational Unit, O=Organization, L=Location, ST=State, C=Country"

Write-Host ''
Write-Host 'Generating .p12 to import to Windows...'
& $keytool -importkeystore -srckeystore $KeystoreFile -destkeystore $P12Path -srcstoretype jks -deststoretype pkcs12 -srcstorepass $KeystorePassword -deststorepass $KeystorePassword

Write-Host ''
Write-Host 'Trusting generated SSL certificate...'
$secureStringKeystorePassword = ConvertTo-SecureString -String $KeystorePassword -Force -AsPlainText
$root = Import-PfxCertificate -FilePath $P12Path -Password $secureStringKeystorePassword -CertStoreLocation Cert:\LocalMachine\Root
Write-Host 'SSL certificate is now locally trusted. (added as root CA)'

Write-Host ''
Write-Host '########## NEXT STEPS ##########' -ForegroundColor Green
Write-Host ''
Write-Host '1. Copy your keystore to $SOLR_HOME\server\etc (MUST be here)' -ForegroundColor Green

if(-not $KeystoreFile.EndsWith('solr-ssl.keystore.jks')) {
	Write-Warning 'Your keystore file is not named "solr-ssl.keystore.jks"'
	Write-Warning 'Solr requires this exact name, so make sure to rename it before use.'
}

$KeystorePath = Resolve-Path $KeystoreFile
Write-Host ''
Write-Host '2. Add the following lines to your solr.in.cmd:' -ForegroundColor Green
Write-Host ''
Write-Host "set SOLR_SSL_KEY_STORE=etc/solr-ssl.keystore.jks" -ForegroundColor Yellow
Write-Host "set SOLR_SSL_KEY_STORE_PASSWORD=$KeystorePassword" -ForegroundColor Yellow
Write-Host "set SOLR_SSL_TRUST_STORE=etc/solr-ssl.keystore.jks" -ForegroundColor Yellow
Write-Host "set SOLR_SSL_TRUST_STORE_PASSWORD=$KeystorePassword" -ForegroundColor Yellow
Write-Host ''
Write-Host 'Done!'
Copy the generated keystore solr-ssl.keystore.jks to the d:\solr-6.6.1\server\etc directory.
Next open the d:\solr-6.1.1\bin\solr.in.cmd file an add the following lines to the end:
set SOLR_SSL_KEY_STORE=etc/solr-ssl.keystore.jks
set SOLR_SSL_KEY_STORE_PASSWORD=secret
set SOLR_SSL_TRUST_STORE=etc/solr-ssl.keystore.jks
set SOLR_SSL_TRUST_STORE_PASSWORD=secret
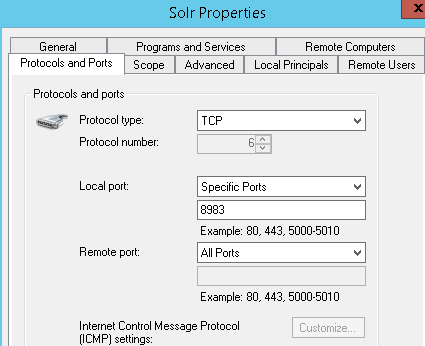
Configure the Firewall
Open TCP port 8983 on the firewall to allow connections to Solr.
Initial Testing
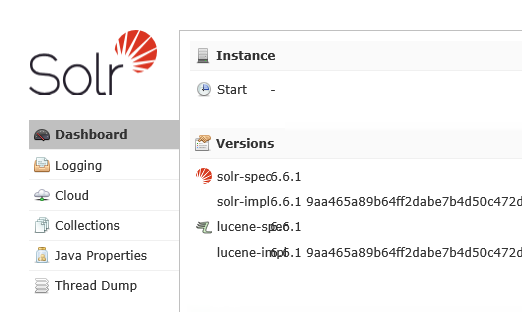
You can now test Solr in a command prompt by running:
bin\solr -c -f -z "SOLRNODE1.COMPANY.COM:2181,SOLRNODE2.COMPANY.COM:2181,SOLRNODE3.COMPANY.COM:2181" -m 18g -p 8983
Navigate to https://SOLRNODE1.COMPANY.COM:8983 to see solr running:
Solr as a Windows Service
We need to set Solr to run automatically. We'll use a process that's very similar to what we did with ZooKeeper.
Create the directory d:\solr-6.6.1\service. Download a copy of prunsrv.exe.
Create a new bat file called InstallSolrService.bat. Add the following content to it:
@echo off

set SERVICE_NAME=solr
set SERVICE_HOME=d:\solr-6.6.1
set PR_INSTALL=%SERVICE_HOME%\service\prunsrv.exe

@REM Service Log Configuration
set PR_LOGPREFIX=%SERVICE_NAME%
set PR_LOGPATH=%SERVICE_HOME%\logs
set PR_STDOUTPUT=auto
set PR_STDERROR=auto
set PR_LOGLEVEL=Debug

set PR_STARTUP=auto
set PR_STARTMODE=exe
set PR_STARTIMAGE=%SERVICE_HOME%\bin\solr.cmd
set PR_STARTPARAMS=-c -z "SOLRNODE1.COMPANY.COM:2181,SOLRNODE2.COMPANY.COM:2181,SOLRNODE3.COMPANY.COM:2181" -m 18g -p 8983

@REM Shutdown Configuration
set PR_STOPMODE=exe
set PR_STOPIMAGE=%SERVICE_HOME%\bin\solr.cmd
set PR_STOPPARAMS=stop -p 8983

%PR_INSTALL% //IS/%SERVICE_NAME% ^
   --Description="Solr-6.6.1" ^
   --DisplayName="%SERVICE_NAME%" ^
   --Install="%PR_INSTALL%" ^
   --Startup="%PR_STARTUP%" ^
   --LogPath="%PR_LOGPATH%" ^
   --LogPrefix="%PR_LOGPREFIX%" ^
   --LogLevel="%PR_LOGLEVEL%" ^
   --StdOutput="%PR_STDOUTPUT%" ^
   --StdError="%PR_STDERROR%" ^
   --StartMode="%PR_STARTMODE%" ^
   --StartImage="%PR_STARTIMAGE%" ^
   --StartParams="%PR_STARTPARAMS%" ^
   --StopMode="%PR_STOPMODE%" ^
   --StopImage="%PR_STOPIMAGE%" ^
   --StopParams="%PR_STOPPARAMS%"

if not errorlevel 1 goto installed
echo Failed to install "%SERVICE_NAME%" service. Refer to log in %PR_LOGPATH%
exit /B 1

:installed
echo The Service "%SERVICE_NAME%" has been installed
exit /B 0
You will need to update the line that contains the DNS addresses and the memory usage.
set PR_STARTPARAMS=-c -z "SOLRNODE1.COMPANY.COM:2181,SOLRNODE2.COMPANY.COM:2181,SOLRNODE3.COMPANY.COM:2181" -m 18g -p 8983
The -m flag is currently setting the memory to 18 GB.
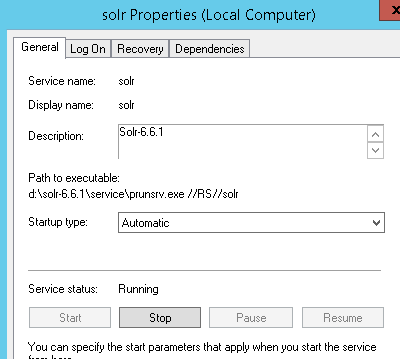
Run the bat file from a command prompt to install the service. Don't forget to set it to run automatically from services.msc.
Rinse and Repeat
Repeat the install process on the other nodes in the cluster.
Using SolrCloud with Sitecore
At this point you should add a load balancer that points to the 3 SolrCloud nodes. Point Sitecore to the load balancer and you're good to go.